How To Auto Animate — Adobe XD
Yes, It is actually this easy.
Version 13 of Adobe XD brought a huge range of powerful tools to the table, the most exciting for me being timed transitions and the auto animate function. Both can be used together to create some serious prototypes with things like guided on-boarding/tutorials and automatic redirecting to different screens. Let’s start simple with the basics of auto animate.
To boil it down to the simplest explanation, it animates the property differences between duplicate objects on separate artboards. Even that still sounds a little strange, so let’s look at some examples.
Example 1 — Make it bigger!
In this example, our property differences are width and height.
- On your first artboard draw a little shape.
- Duplicate the artboard.
- Select the shape on the second artboard and make it bigger.
- Set up your transition in the prototype tab, selecting auto animate in the actions tab. In this case, I have chosen to transition on tap.
- Feel free to customise the transition speed, and select an easing value. “Ease both” at ~0.3ms creates a silky-smooth transition in many instances.
- Run your prototype and trigger the transition to see the magic!

Go back and change the name of your shape on one of the artbaords, watch what happens when you attempt to execute the transition, spoiler alert, it breaks. All I want to stress here with this basic example is the animation being dependant on property differences between duplicate objects with the same name.
Example 2 — Transparency + Position
These property differences are not just limited to the dimensions, or even the position of the object. Utilising transparency can give the effect of objects appearing/vanishing from thin air. Combine multiple property changes like this scene to enhance the animation.
Unfortunately, smooth colour changes are not supported with auto animate let’s hope that comes in the future.


I have placed both artboards next to each other and highlighted the transparent “Added to Cart” pill on the first panel to show you the differences XD is detecting. These differences include:
- Opacity of the blue pill.
- Y axis position of the blue pill.
- Length of the upright line in the +/- symbols.
See if you can recreate these movement properties of the blue pill by experimenting with the easing values.
Example 3 — Animating Out of View
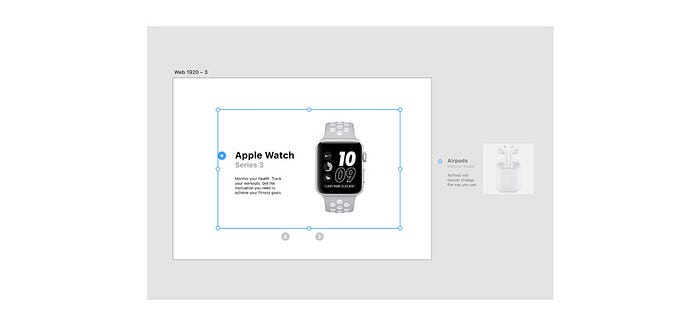
Moving objects off the screen can be as simple or complex as you like, the only limit is your imagination. For this example, let’s create a kind of “light box” view, allowing us to scroll between different products. I have gone ahead and added some arrow buttons to signify that the view can be cycled.
- For this example, all the content on the screen will move out of view, so for the sake of tidiness, let’s group them together. (select each item and press cmd + g)
- Duplicate the artboard.
- On the second artbaord move all the content you wish to animate, out of view (ensure XD still registers that these objects are attached to the artboard). Changing the dimensions of the content here will add another level of interaction in the final product as it will both slide and shrink off the screen.
Link the right arrow on artboard 1 to artboard 2, and while you’re at it, link the left arrow on artboard 2 to take you back again. Set to auto animate with the options you like and take it for a spin.
Example 4— Animating Into View
Animating objects into view is the same as animating out, just the opposite direction! I find it easiest to do the same process as before, just starting from artboard 2.
- Fill artboard 2 with the scene you want the animation to end on.
- Copy all elements onto artboard 1.
- Move all items to their starting position off the artboard.
- Ensure all items are named properly.
Your artboards should look a little something like this, with content both inside and outside the workspace.
Finally, if all is set correctly, the resulting animation should look a little something like this:

The current Adobe XD animation capabilities are reletively restricted when compared to something like Principle. With a little practice and brain power, these simple auto animations can be used to create some pretty complex interactions. Once you nail the basics of just moving and resizing objects, layering these with timed transitions will push the boundaries even further.